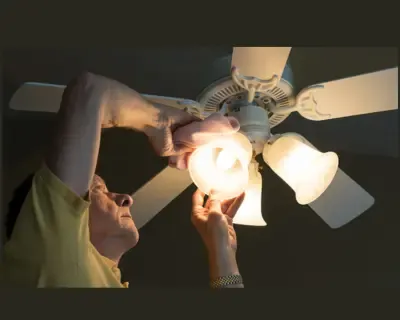
How To Change Light Bulb In Ceiling Fan

Changing a light bulb in your ceiling fan is easy. It can make your room look nicer and brighter. But, it is important to be careful and safety and avoid damaging the fan or light fixture.
Before you start to change bulb in ceiling Fan, make sure to gather the below items:
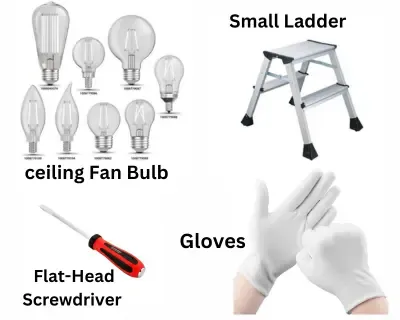
- Get a new light bulb that has the same power and fits the same way as the old one.
- Use a small ladder or a strong chair.
- A flat-head screwdriver (if needed)
- A cloth or gloves (to avoid leaving fingerprints on the new bulb)
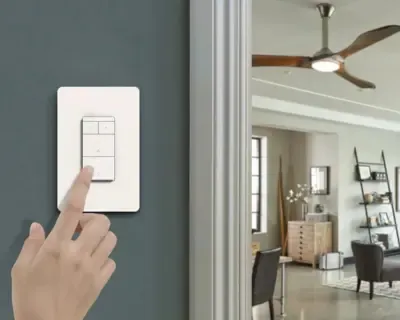
Step 1: Turn off the power
- Always make sure you are safe when you are dealing with electrical stuff.
- Find the switch on the wall that turns off the fan and light, and switch it off.
- If you can not find the switch, you can also turn off the breaker that gives power to the fan and light.
- Put the safety gloves and glasses, it can protect your eyes from damage if the glass light cover or bulb breaks.
Step 2: Allow the bulb to cool

- If the old bulb has been on for a while, make sure it's cooled down before you try to take it out.
- Hot bulbs can cause burns or break if you do not handle them carefully.
Step 3: Make sure the ladder or chair would not move.
- Put your ladder or chair right under the fan, make sure it would not move while you are working.
Step 4: Remove the light bulb cover
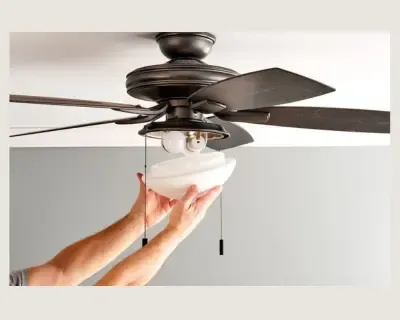
- Some ceiling fans have a made of glass or plastic that goes over the light bulbs. If your fan has one, you will need to remove it first.
- Check for screws or clips holding the cover and take them out gently. Be careful not to drop or break it.
- There are mainly 2 types of light bulb cover
- Globe Cover with Holding Screws
- Light Cover with Holding Clips
Step 5: Locate the light bulb socket
- Once you have remove the cover (if there is one), you should see the place where the light bulb socket/holder.
- Depending on your fan's design , there may be multiple sockets or a single socket with multiple bulbs.
Step 6: Remove the old light bulb
- Hold the old bulb gently and turn it to the left to unscrew it from the socket.
- If the bulb is stuck or does not turn easily, do not try to force it
- Instead, use a dry cloth or gloves to hold it better and try again softly.
Step 7: Clean the socket (optional)
- If you see any dust or dirt in the socket where the bulb hold , use a clean, dry cloth to wipe it away softly.
- This makes sure the electricity flows correctly and prevent any possible hazards.
Step 8: Install the new light bulb
- Take the new bulb and carefully put in to socket by turning it clockwise.
- Do not push or tight the bulb too hard, because it might break or damage the socket.
Step 9: Replace the light bulb cover
- If your ceiling fan has a light bulb cover, carefully replace it and secure it using the screws or clips you removed earlier.
Step 10: Turn the power back on
- Once you have successfully installed the new light bulb and replaced the cover (if applicable),turn the power back on using the wall switch or breaker.
Step 11: Test the new light bulb
- Turn on the switch of the fan's light to check if the new bulb is working okay.
- If the bulb does not light up, double check that make sure the bulb is screwed in tight and that you have turned the power back on correctly.
💡
Congratulations! You have successfully changed the light bulb in your ceiling fan. Remember to dispose of the old bulb properly and store the ladder or chair safely until the next time you need it.
The below video shows how to change light bulb in Ceiling Fan
How to change light bulb in Ceiling Fan